This document describes the steps to be followed to point Rackspace Name servers in Domain DNS Zone.
Following examples are taken from Godaddy (a leading DNS provider) control panel for your reference.
Step 1:
Log in to your account https://sso.godaddy.com/
Step 2:
Click on My Product, then Manage Domain, then select the domain you wish to edit. Navigate domain properties and click on Manage DNS.
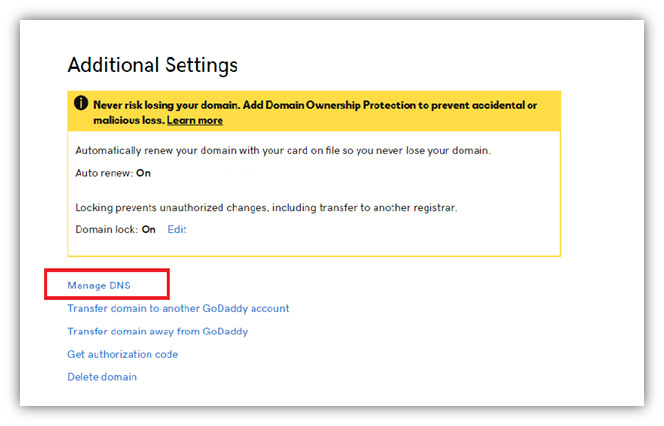
Step 3:
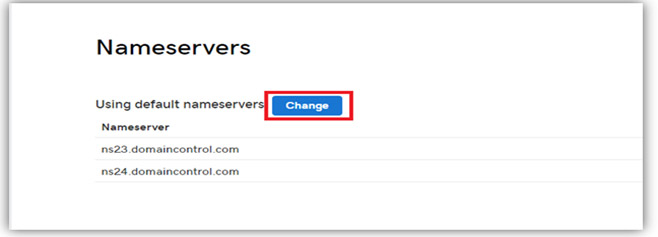
Click Manage to add/change Nameservers.
Step 4:
Check the “Custom” type from the drop-down radio button.
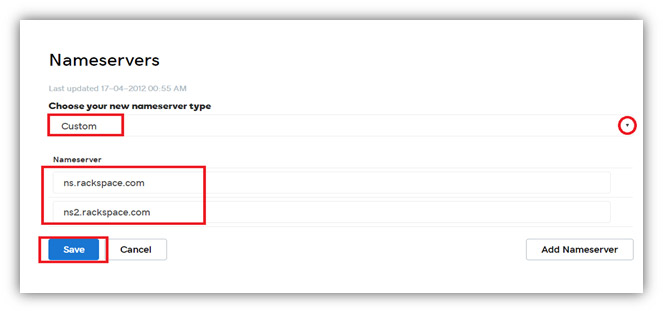
Step 5:
Specify Rackspace name servers ns.rackspace.com,ns2.rackspace.com in the box and click on save. Please note, it can take up to 24 hours to fully propagate.
If you need any assistance during setup, email support@experiture.com