Master the process of uploading and managing target lists on our platform with this comprehensive guide. From choosing your upload method to mapping fields and configuring data segments, our step-by-step instructions ensure a smooth data integration experience. Learn how to effectively use manual uploads, ETL via SFTP, integrations, and webhooks to enhance your marketing campaigns and data workflows. This guide is essential for anyone looking to optimize their use of the Experiture platform’s powerful data management tools.
Screen Overview: This screen allows users to choose the method for uploading target lists. Options include Manual Upload, ETL via SFTP, Integration, and Webhook.
Detailed Instructions:
Manual Upload: Select this option to manually upload target lists from a CSV or Excel file. Ideal for users who prefer a straightforward, file-based upload.
ETL via SFTP: Choose this for automated uploads via Secure File Transfer Protocol. Suitable for regular, large-scale data transfers.
Integration: Use this option to integrate and synchronize data directly from tools you already use, such as CRM systems.
Webhook: Opt for this method to set up a webhook for continuous data upload as new data becomes available.
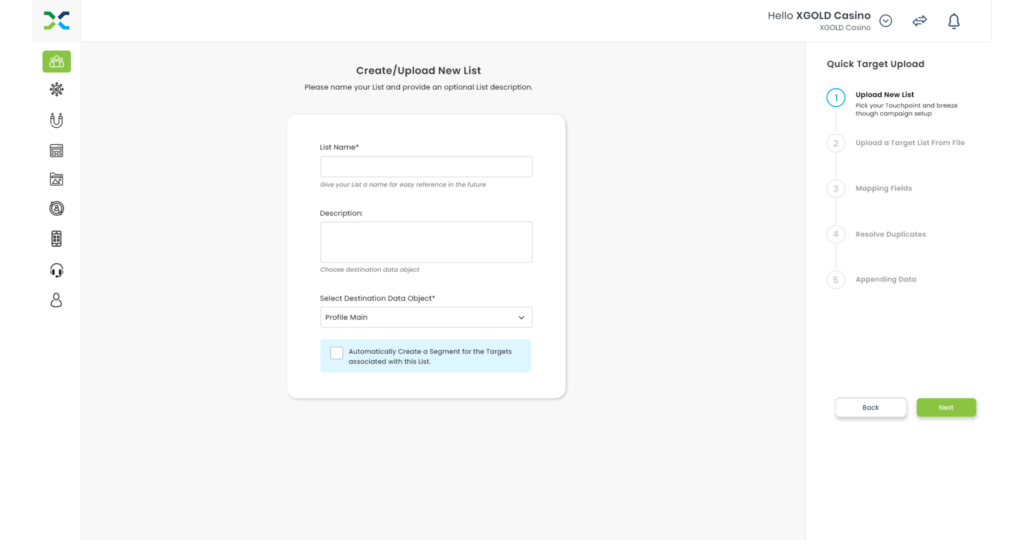
Step 2: Create/Upload New List
Screen Overview: Here, you provide details for the new target list, including its name, description, and the destination data object.
Detailed Instructions:
List Name: Enter a unique name for your list, which will be used to identify it within the platform.
Description: Provide a brief description of the list’s contents and any relevant details.
Destination Data Object: Select the database object where the data from this list should be stored.
Automatically Create a Segment: Check this box if you want the platform to automatically create a marketable segment from the uploaded targets.
Screenshot: [Insert screenshot of Step 2 screen]
Highlight: Each input field and checkbox, specifying the importance of each detail.
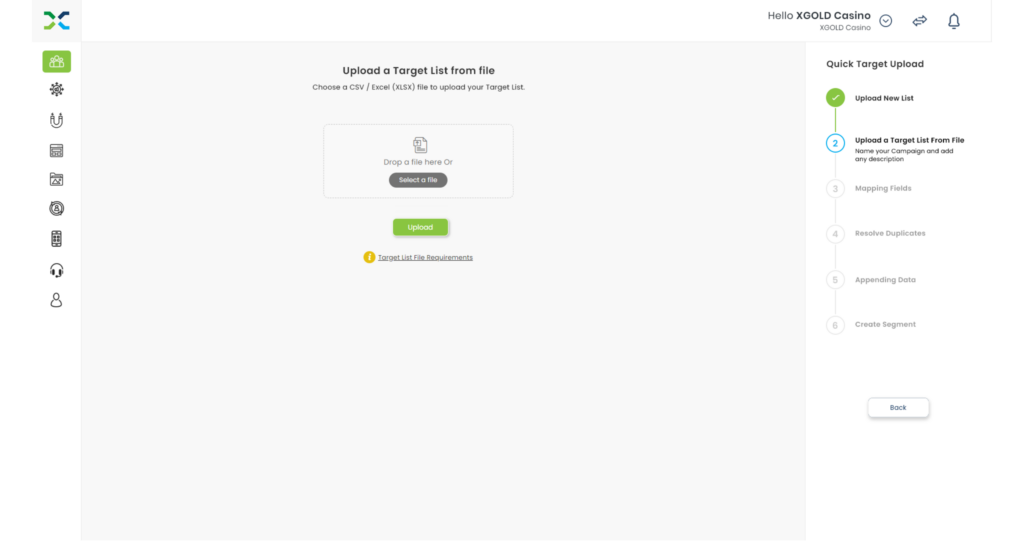
Step 3: Upload a Target List from File
Screen Overview: This screen is used to upload the data file containing your target list.
Detailed Instructions:
File Selection: Drag and drop your file into the designated area or use the “Select a file” option to locate the file on your device.
Upload Button: After selecting the file, click ‘Upload’ to start the upload process.
File Requirements: Click on “Target List File Requirements” to view the specifications needed for the upload file, including format and size limits.
Screenshot: [Insert screenshot of Step 3 screen]
Highlight: The file drop area and the ‘Upload’ button, emphasizing the ease of the drag-and-drop functionality and the importance of checking file requirements before uploading.
Step 4: Map Fields
Screen Overview: This step involves mapping the fields from your uploaded file to the corresponding fields in the Experiture database.
Detailed Instructions:
Upload List Fields: These are fields extracted from your uploaded file. Next to each field, you will see sample values from your file.
Experiture Fields: Use the dropdown next to each upload field to select the corresponding field in the Experiture database.
Skip This Field: If a field from your file doesn’t correspond to any database field, or if you choose not to import it, select “Skip this field.”
Screenshot: [Insert screenshot of Step 4 screen]
Highlight: The dropdown menus for field mapping and the example data next to each field, helping users understand how their data will align with the Experiture fields.
Additional Context and Tips
Tips for Success:
Always review the file requirements before uploading to ensure compatibility.
Double-check your field mappings to avoid data discrepancies.
Utilize the automatic segment creation feature to immediately start marketing to new targets.
Support Links: Provide links to more detailed articles or videos for complex steps like ETL setup or webhook configuration.