Overview
This guide helps you through the process of adding and configuring date fields
within our platform, ensuring you can manage date information flexibly and
efficiently.
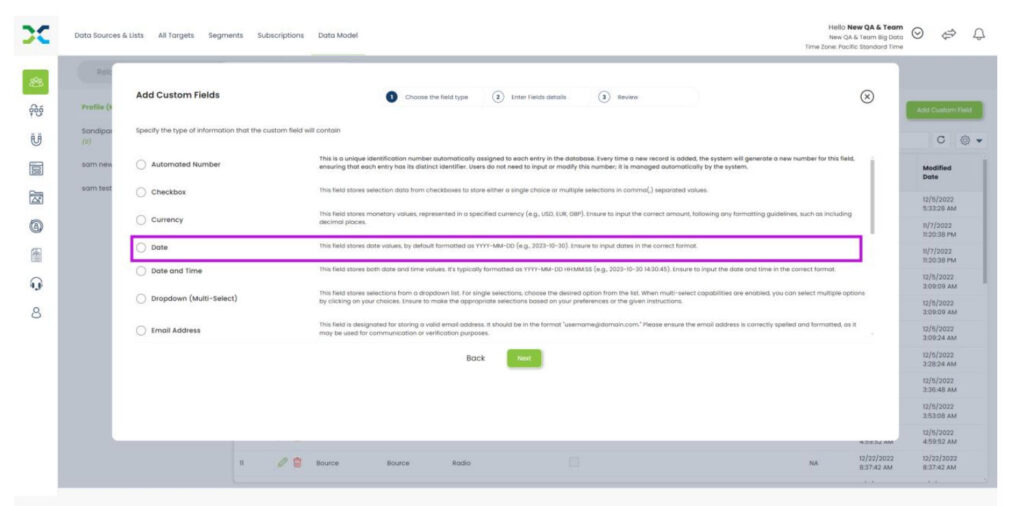
Step 1: Choose the Field Type
- Navigation: Access the “Data Model” section and click on “Add Custom Field.”
- Action: Select “Date” from the list of available field types. This option is
specifically for storing dates without times.
Step 2: Enter Field Details
- Field Label and Name: Assign a clear and descriptive label and name for the field. These identifiers will help you and other users understand the nature of the data stored in this field.
- Description: Provide a brief description of what the date field is used for, which enhances clarity for all platform users.
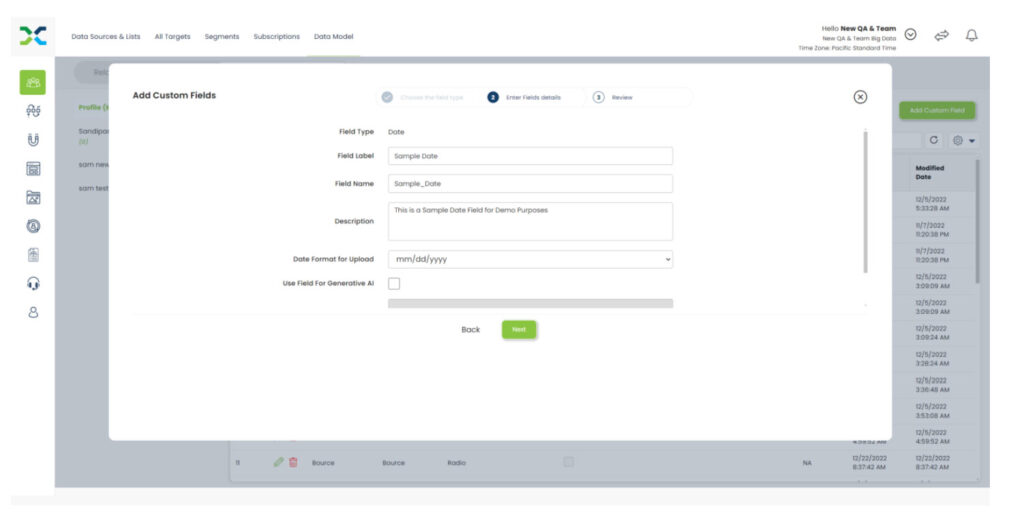
Step 3: Set Date Format for Uploads
- Choosing a Date Format: While setting up the date field, you can choose a default date format for data uploads, such as MM/DD/YYYY or DD-MM-YYYY. This format will guide users during data entry or file uploads.
- Flexibility in Data Entry: Despite selecting a default upload format, our platform is capable of intelligently recognizing and processing multiple date formats. You can upload data in any recognized date format, and the system will automatically convert it to the format specified for the field.
Step 4: Additional Settings
- Use Field for Generative AI: If applicable, you can enable this field to be used for generative AI applications, enhancing the automation and personalization capabilities of our platform.
Visual Guide to Formats
- Dropdown Menu: When configuring the date format, a dropdown menu provides a list of all supported formats. You can select the most suitable format based on your regional or operational preferences.
User Guidance
- Updating Files: When you upload or update files, there’s no need to convert your dates to the format specified in the field settings. Upload your files with the dates in any recognized format, and our system will handle the conversion.
- Automatic Detection: Our platform’s backend is designed to detect the format of dates automatically, ensuring seamless data integration and consistency.
Conclusion
By selecting a date field and specifying a default format, you optimize how date data is handled and displayed across the platform. Remember, the format chosen is primarily for consistency in display and does not limit the acceptance of various date formats during data uploads.
For any further assistance or to clarify the process, please contact our support team. This flexibility ensures that managing date-related data is both efficient and user-friendly, adapting to diverse user needs and regional date formatting standards.